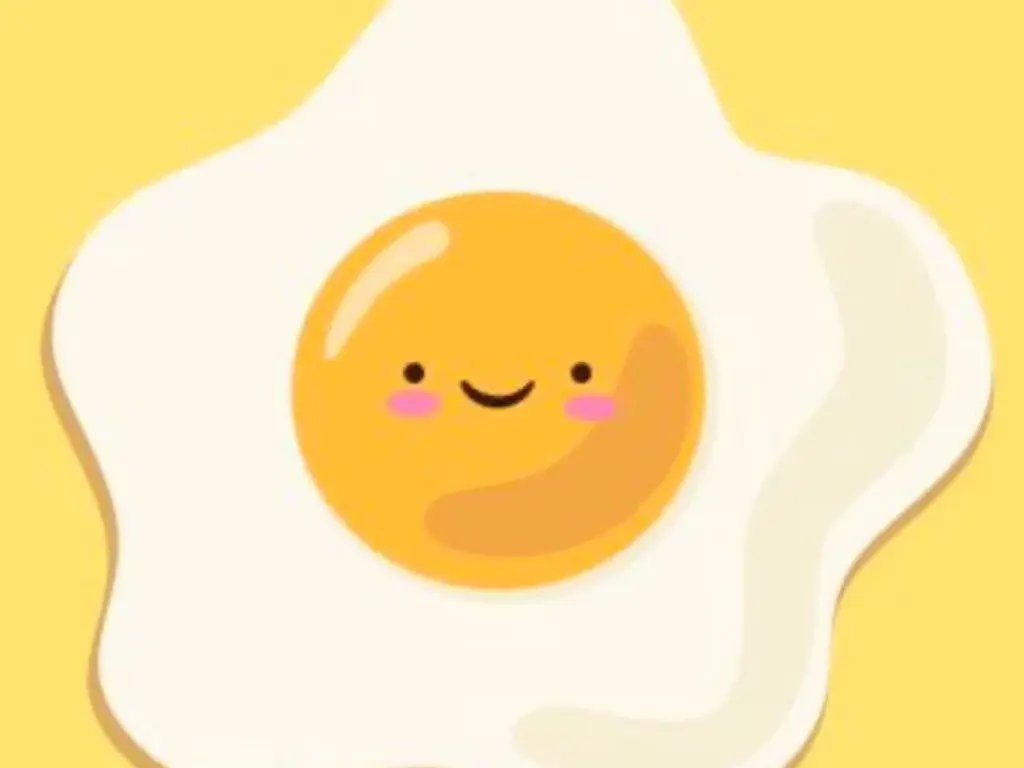
Egg Breakfast illustration
Egg Breakfast illustration turns one fried egg into a cartoon with a smiling face, ready in 12 minutes with 5 pantry ingredients and no drawing skill.
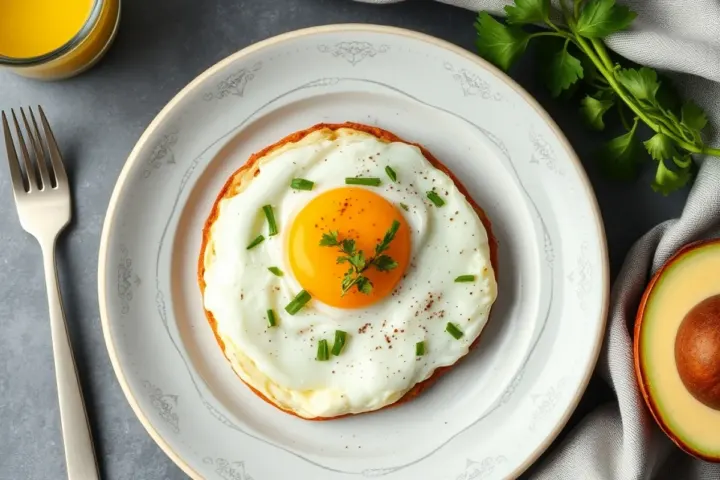
A cartoon fried egg with a smiling face is one egg, one small nonstick pan, and about three minutes of heat. That's the whole trick.
The white has to set firm enough to hold a shape, and the yolk has to stay soft enough to look like a face. Those two things fight each other, so you cook the white first and protect the yolk.
You don't need a mold, a ring, or any drawing skill. A spoon, a lid, and a steady low flame do all the work. If the white browns, the face turns grumpy. That's the one thing to watch.
About the Ingredients
1 large egg, cold from the fridge
Cold eggs hold a tighter yolk, which keeps the face round. If yours is very fresh, the white will spread less and you get a neater circle.
1 teaspoon (5 g) unsalted butter or neutral oil
Butter browns and tastes better; oil gives a cleaner white with no dark flecks. Use whatever you have, but keep it to one teaspoon so the egg doesn't swim.
1 teaspoon (5 g) ketchup, sriracha, or tomato paste
This is the mouth. Ketchup is sweet and bright, sriracha adds heat, tomato paste is thicker and holds a line better on a hot egg.
2 small nori squares or 2 black sesame seeds
These are the eyes. Nori punches clean shapes; sesame seeds are faster and don't need scissors.
1 slice bread, toasted, or 1/2 cup (90 g) cooked rice
Something to sit the egg on so the face stays level. Toast gives crunch, rice gives a soft base that soaks up the yolk.
1 pinch flaky salt
Added at the end, not during cooking. Salt early draws water out of the white and leaves puddles.
1 small pinch black pepper
Optional. Skip it if you want the face clean and readable.
Frequently Asked Questions
Q: Why does my fried egg white stay runny on top?
The top of the white cooks only by steam, so it needs a lid. Cover the pan for the last 60 seconds on low heat and the film sets without flipping. If you skip the lid, you either get a raw top or a browned bottom.
Q: How do I keep the yolk runny and the white firm?
Use low heat and a lid, and pull the pan when the white turns matte. Low heat gives the white time to set before the yolk thickens. A hot pan sets the yolk first and leaves the white raw.
Q: Can I make this without a nonstick pan?
Yes, but use 2 teaspoons (10 g) of butter or oil and keep the heat lower. Stainless and cast iron grab egg white, so loosen the edges with a spatula before you slide it out. A well-seasoned cast iron works fine.
Q: What can I use instead of nori for the eyes?
Black sesame seeds, two capers, or two small dots of ketchup all work. Sesame seeds are the easiest because they stick to the warm white on their own. Capers add a salty bite, so skip the extra salt.
Q: Is a runny yolk safe to eat?
For most healthy adults, yes, if the egg is clean and stored cold. If you are pregnant, older, or immune-compromised, cook the yolk until it is firm, about 2 extra minutes with the lid on. That is a personal call, not a rule.
Step-by-Step Instructions
1. Warm the pan gently
Put a small nonstick pan over low heat for 1 minute. Add 1 teaspoon (5 g) butter and swirl until it melts but does not brown. If it sizzles hard, the pan is too hot, so lift it off the burner for 20 seconds.
2. Crack into a bowl
Crack 1 large egg into a small bowl. Check that the yolk is intact. This one step saves you from a broken face later.
3. Slide the egg in
Tilt the pan and slide the egg in from the bowl, close to the surface. You want the white to spread into a rough circle, not splash. Nudge the thick part of the white outward with a spoon if it clumps.
4. Cook the white, cover the yolk
Cook on low for 2 minutes. The white should turn opaque from the outside in. Spoon a little hot butter over the yolk if you want it filmed, or leave it glossy.
5. Steam the top
Cover the pan with a lid and cook 60 more seconds. The white over the yolk sets and turns matte. Pull the pan off the heat when the white is firm and the yolk still wobbles when you shake the pan.
6. Season and slide out
Sprinkle 1 pinch flaky salt and a pinch of pepper over the white, away from the yolk. Slide the egg onto 1 slice of toast or 1/2 cup (90 g) rice using a spatula, keeping it flat.
7. Draw the face
Cut 2 small nori squares for eyes, or press 2 black sesame seeds into the white. Draw the mouth with 1 teaspoon (5 g) ketchup or sriracha on the end of a chopstick. Serve right away, while the yolk is still runny.
Tips & Tricks
- Wipe the pan with a paper towel after the butter melts. A thin film cooks the white evenly and stops the edges from frying dark.
- Crack the egg into a small bowl first. If the yolk breaks, you find out before it hits the pan.
- Keep the flame at low. A hot pan puffs the white and browns the bottom before the top sets.
- Slide a lid on for the last 60 seconds. The trapped steam sets the film over the yolk without flipping.
Delicious Variations
Deviled egg face
halve a hard-boiled egg, pipe the yolk back in with a spoon, and use two peppercorns for eyes.
Cheesy blanket egg
lay a thin slice of American cheese over the white for the last 30 seconds so it melts into a smile-shaped drape.
Rice bowl version
set the egg on warm rice, add a splash of soy sauce around the edge, and use a strip of nori for the mouth.
How to Store Egg Breakfast illustration
Refrigerator
Cooked eggs keep 3 days in a sealed container. Store the egg off the toast so the bread doesn't go soggy, and add the face fresh.
Freezer
Don't freeze a fried egg. The white turns rubbery and the yolk weeps water when it thaws.
Reheating
Reheat covered in a pan over low heat for 2 minutes, or 20 seconds in the microwave. The yolk will set further, so expect a firmer center.
Cook one egg this way a couple of times and the timing becomes muscle memory. Then the face is just a minute of fun at the end. Make it once for yourself, then make it again for whoever wanders into the kitchen.
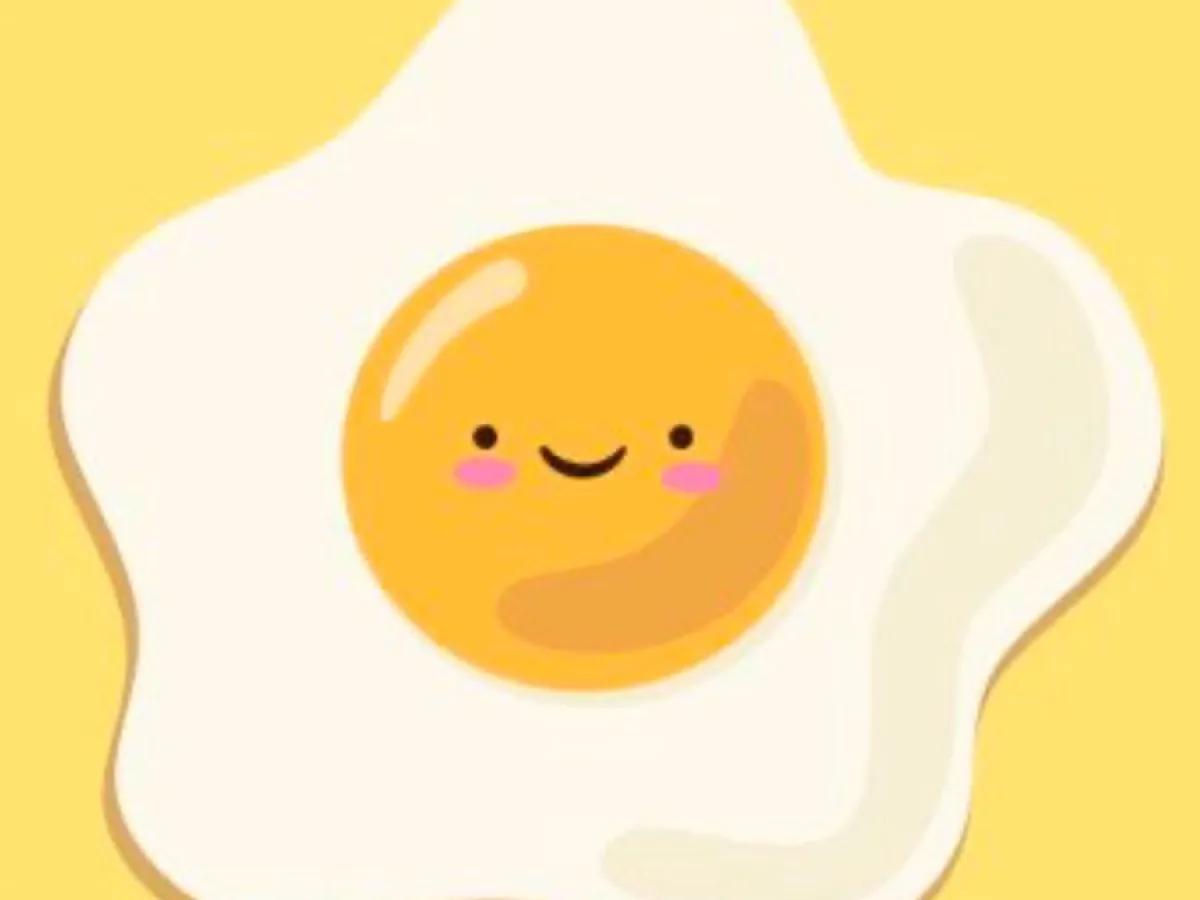
Egg Breakfast Illustration: Easy Cartoon Fried Egg
Egg Breakfast illustration turns one fried egg into a cartoon with a smiling face, ready in 12 minutes with 5 pantry ingredients and no drawing skill.
🧂 Ingredients
- 1 large egg, cold from the fridge
- 1 teaspoon (5 g) unsalted butter or neutral oil
- 1 teaspoon (5 g) ketchup, sriracha, or tomato paste
- 2 small nori squares or 2 black sesame seeds
- 1 slice bread, toasted, or 1/2 cup (90 g) cooked rice
- 1 pinch flaky salt
- 1 small pinch black pepper
📋 Instructions
- 1Warm the pan gently — Put a small nonstick pan over low heat for 1 minute. Add 1 teaspoon (5 g) butter and swirl until it melts but does not brown. If it sizzles hard, the pan is too hot, so lift it off the burner for 20 seconds.
- 2Crack into a bowl — Crack 1 large egg into a small bowl. Check that the yolk is intact. This one step saves you from a broken face later.
- 3Slide the egg in — Tilt the pan and slide the egg in from the bowl, close to the surface. You want the white to spread into a rough circle, not splash. Nudge the thick part of the white outward with a spoon if it clumps.
- 4Cook the white, cover the yolk — Cook on low for 2 minutes. The white should turn opaque from the outside in. Spoon a little hot butter over the yolk if you want it filmed, or leave it glossy.
- 5Steam the top — Cover the pan with a lid and cook 60 more seconds. The white over the yolk sets and turns matte. Pull the pan off the heat when the white is firm and the yolk still wobbles when you shake the pan.
- 6Season and slide out — Sprinkle 1 pinch flaky salt and a pinch of pepper over the white, away from the yolk. Slide the egg onto 1 slice of toast or 1/2 cup (90 g) rice using a spatula, keeping it flat.
- 7Draw the face — Cut 2 small nori squares for eyes, or press 2 black sesame seeds into the white. Draw the mouth with 1 teaspoon (5 g) ketchup or sriracha on the end of a chopstick. Serve right away, while the yolk is still runny.